How to Log Food With a Barcode Scanner: A Quick Check Before You Save
Learn how to log packaged food with a barcode scanner, check the serving size, and use a simple fallback when the product is not found.
How to Log Food With a Barcode Scanner: A Quick Check Before You Save
To log food with a barcode scanner, scan the package, confirm that the product and serving size match what you have, set the amount you ate, then save it. If the result looks wrong or the product is not found, use the package's Nutrition Facts panel as the tie-breaker instead of forcing a close match.
Short answer: use this four-point check every time you scan a packaged food: product, serving size, amount eaten, and calories/macros. It takes a few seconds and protects you from the most common barcode-log mistake: saving one serving when you actually had two, or trusting a similarly named product.
What should you check after scanning a food barcode?
Use this small checklist before you add a packaged food to your daily log.
| Check | What to compare | Example |
|---|---|---|
| Product | Brand, flavour, and package size | The scan says chocolate protein bar, not chocolate brownie bar |
| Serving size | The app result against the Nutrition Facts panel | 1 bar, not 1/2 bar |
| Amount eaten | The number of servings you actually had | 2 bars means 2 servings |
| Nutrition | Calories and macros against the package | 200 calories and 20 g protein per bar |
The barcode identifies a product. It does not decide how much you ate, and it does not make an older or mismatched listing correct. The U.S. Food and Drug Administration explains that Nutrition Facts labels show serving size and the nutrients for that serving, which is why serving size is the first thing to check when a result appears. See the FDA's guide to the Nutrition Facts label.
How do you log packaged food with a barcode scanner?
Here is a reusable workflow for a single packaged snack, drink, or ingredient:
- Open your food log and choose the barcode scanner.
- Put the code inside the camera frame and wait for a result.
- Match the product name and package details to what is in your hand.
- Read the serving size on the package, then set the amount you actually ate.
- Check the calories and macros once, then save the entry.
For example, imagine a yogurt pot that scans as 150 calories and 15 g protein per pot. If you ate one pot and the label also says one serving per container, log one serving. If the label says two servings per container and you ate the whole pot, log two. The useful calculation is simply:
logged nutrition = nutrition per serving × servings eaten

Example:
150 calories × 2 servings = 300 calories
15 g protein × 2 servings = 30 g protein
That arithmetic is not a diet prescription. It is a way to keep the entry tied to the amount on the package and the amount you chose to eat.
What if a barcode scan finds the wrong food or no food?
Do not save a near match just because the product name is similar. First check the brand, flavour, package size, and serving size. If any of those are off, use one of these fallback options:
- Use the package label. Enter the label's serving and nutrition values manually when you need a record now.
- Search or describe the product. Include the brand and the portion rather than choosing a generic food with the same name.
- Keep the package photo. It gives you something to compare later if you want to correct the log.
The FDA also notes that the serving size is based on the amount people typically eat or drink, not a recommendation for how much a person should consume. That distinction matters: the label is a reference for the package, while the amount in your log should reflect your own portion.
When is a barcode scanner the right tool?
A barcode scanner is quickest for packaged food with a clear code and a Nutrition Facts panel, such as a protein bar, bottled drink, cereal, frozen meal, or a packaged ingredient. It is less useful for a mixed restaurant meal, a homemade recipe, or loose produce. Choose the input that best matches the food, then review the entry before saving.
This is a record-keeping workflow, not medical or dietary advice. If you need individual nutrition guidance for a health condition, speak with a qualified health professional.
A verified PeakBFF barcode-food workflow
In PeakBFF, open the food camera and switch it to Barcode mode, then point it at the product code. The app resolves the product and lets you review the result before you save the food log. If a valid code does not match a product, PeakBFF offers a package scan so you can photograph the package and nutrition label instead. You can also enter the barcode number or log food by text or meal photo when that is a better fit.
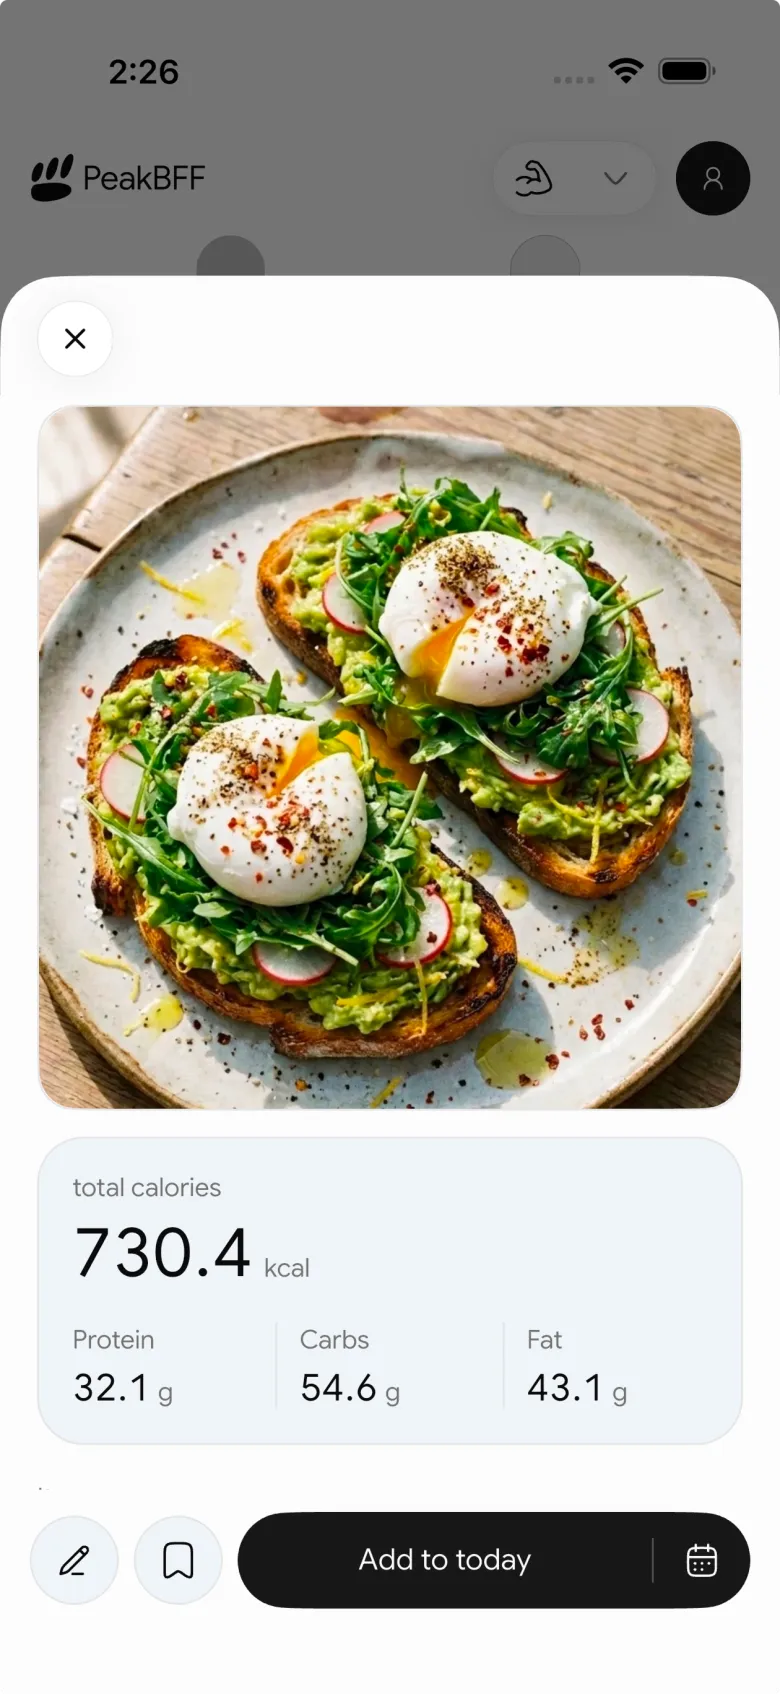
The useful habit is still the same: check the serving and amount before saving. PeakBFF then keeps that food record beside the calories, protein, macros, and workouts you log. For an app-level decision rather than this one workflow, see our calorie counter apps for lifters comparison.
The bottom line
Barcode food logging works best when you treat the scan as a starting point, not an automatic answer. Confirm the product, serving size, amount eaten, and nutrition, then save. That small checklist works in any log today. PeakBFF makes it easier to keep barcode, photo, and typed food entries with your training record in one place.
Download PeakBFF on the App Store or Google Play to log packaged food alongside your workouts.
More from PeakBFF
More app comparisons, fitness guides, and product notes.
Ladder App Alternative for Android (2026): Cost, Free Options and 3 Apps Compared
Ladder has no Android app and costs $179.99 a year after a trial. Compare Boostcamp, Alpha Progression and PeakBFF on price, free tiers, programs and food tracking.
Cardio Before or After Lifting? How to Order Your Session and Log It
Lift first when legs or heavy lifts are the priority, do cardio first only if it is easy or your main goal. Here is the evidence, a decision table and a way to log it.
Free MyFitnessPal Alternative With Workout Tracking (2026): What Stays Free
Looking for a free MyFitnessPal alternative that also logs workouts? Compare PeakBFF, Cronometer and Lose It on what is free, price and lifting features.
Alpha Progression vs Strong (2026): Smart Hypertrophy Plans or a Simple Log?
Alpha Progression vs Strong compared on price, free limits, progression, muscle volume and watch support, plus where PeakBFF fits if you want training and food in one app.
RPE Chart for Lifting: RPE to Reps in Reserve to % of 1RM, With a Log Template
Use an RPE chart to turn how hard a set felt into reps in reserve and a percent of your 1RM. Includes a printable table, a worked example, and a way to log RPE in PeakBFF.
Best Free Strength Training App for Women Over 40 (2026): What Stays Free
Looking for a strength training app for women over 40 that does not lock logging behind a subscription? Hevy, Strong, Boostcamp, StrongEra and PeakBFF compared on what is free.