How to Take a Physique Photo for an AI Rating: A Setup Checklist
Use this simple physique-photo setup checklist to make an AI rating easier to review without treating a photo score as a health measurement.
How to Take a Physique Photo for an AI Rating: A Setup Checklist
To take a physique photo for an AI rating, use a clear front-facing photo in even light, keep the camera stable and far enough back to include your full body, and remove distractions from the background. If you plan to compare ratings later, repeat the same place, camera height, clothing, and pose. Treat the result as a photo-based estimate to review, not a medical measurement or a verdict about your body.
Use this setup checklist before you take the photo:
Clear, even light: _______________________
Camera stable and level: _________________
Full body visible in frame: ______________
Plain, uncluttered background: ___________
Same setup as my previous check-in: ______
Optional back photo added: _______________
What I want to review, not prove: ________
The checklist is deliberately short. It gives a photo-based tool enough clear context to produce a reviewable result, while keeping you from asking one picture to explain everything about your body or health.
Why does the photo setup matter for an AI physique rating?
An AI rating only sees the image you give it. Shadows, a cropped frame, clothing, a tilted camera, or a busy background can change what is visible. That matters especially if you want to compare your own check-ins over time.
Consistency is a photography principle, not an AI guarantee. Clinical serial photography guidance emphasises consistent lighting, positioning, perspective, and background when images need to be compared over time. The same practical idea applies here: reduce the changes you control before reading too much into two pictures. (clinical photography guidance)
Photo-based physique tools are an active app category. For example, uFit AI describes a body-photo scan that informs training, and VTapr describes a physique scan alongside workout planning. Those product descriptions do not make a score a diagnosis, and neither should you.
What is the simplest photo setup to repeat?
Choose one spot with a plain wall and enough room for the whole frame. Put the camera on a stable surface or tripod at about mid-torso height, keep it level, and step back until your entire body is visible without using a very close wide-angle view. Daylight from one side or a consistently lit room is usually easier to repeat than a dramatic overhead light.
Then make the setup boringly repeatable:
| Part of the setup | What to do | What to avoid |
|---|---|---|
| Light | Use even, stable light | A strong light behind you or a new dramatic angle |
| Camera | Keep it level and stable | Holding it low, high, or at a new tilt |
| Frame | Include your full body with room around it | A crop that hides part of the body |
| Background | Use a plain, private spot | Mirrors, clutter, other people, or identifying details |
| Pose | Use the same relaxed or posed choice each time | Comparing different poses as if they match |
You do not need studio equipment. A fixed spot, a level camera, and a little space around the frame are enough to make the next check-in easier to compare.
Should you take a front photo or add a back photo too?
Start with a clear front photo. If the app offers an optional back photo and you are comfortable adding one, use the same camera height and lighting for that frame too. A second angle can provide more image context, but it does not turn the result into a complete assessment.
Use the same simple pose rule for both photos. Choose relaxed or posed, then repeat the choice at your next check-in. Do not use a new flex, a twist, or a different camera distance to create a more flattering comparison. A useful record is one you can recognise and recreate.
How should you review an AI physique rating?
Review the result as a prompt for a small, practical observation, not as a precise measurement. This template keeps the next step grounded:
Check-in date:
Setup repeated: yes / partly / no
What was visible in this photo:
What was different from the last setup:
One training record I will review alongside it:
Next optional check-in date:
For example: "Same wall and camera height, but afternoon light was brighter. I will look at my completed pulling sessions before deciding whether the next training block needs any change." That note is more useful than treating a single score movement as proof of a body change.
If you also keep a tape log, see how to measure and track your shoulder-to-waist ratio; a tape figure and a photo estimate are different measures.
If taking or reviewing physique photos starts to feel stressful or compulsive, make the interval longer, keep the images private, or pause the workflow. Photos and scores are optional record-keeping tools, not a measure of your worth or a substitute for qualified health advice.
How do you take a physique photo for an AI rating in PeakBFF?
In PeakBFF, open Rate my physique, add a front photo, and optionally add a back photo before choosing Rate me. The app keeps the photo selection on the intro screen until you choose to run the rating. Afterward, review the result as a check-in. A genuine saved rating can be revisited in the progress timeline, where you can select two check-ins for a before-and-after view.
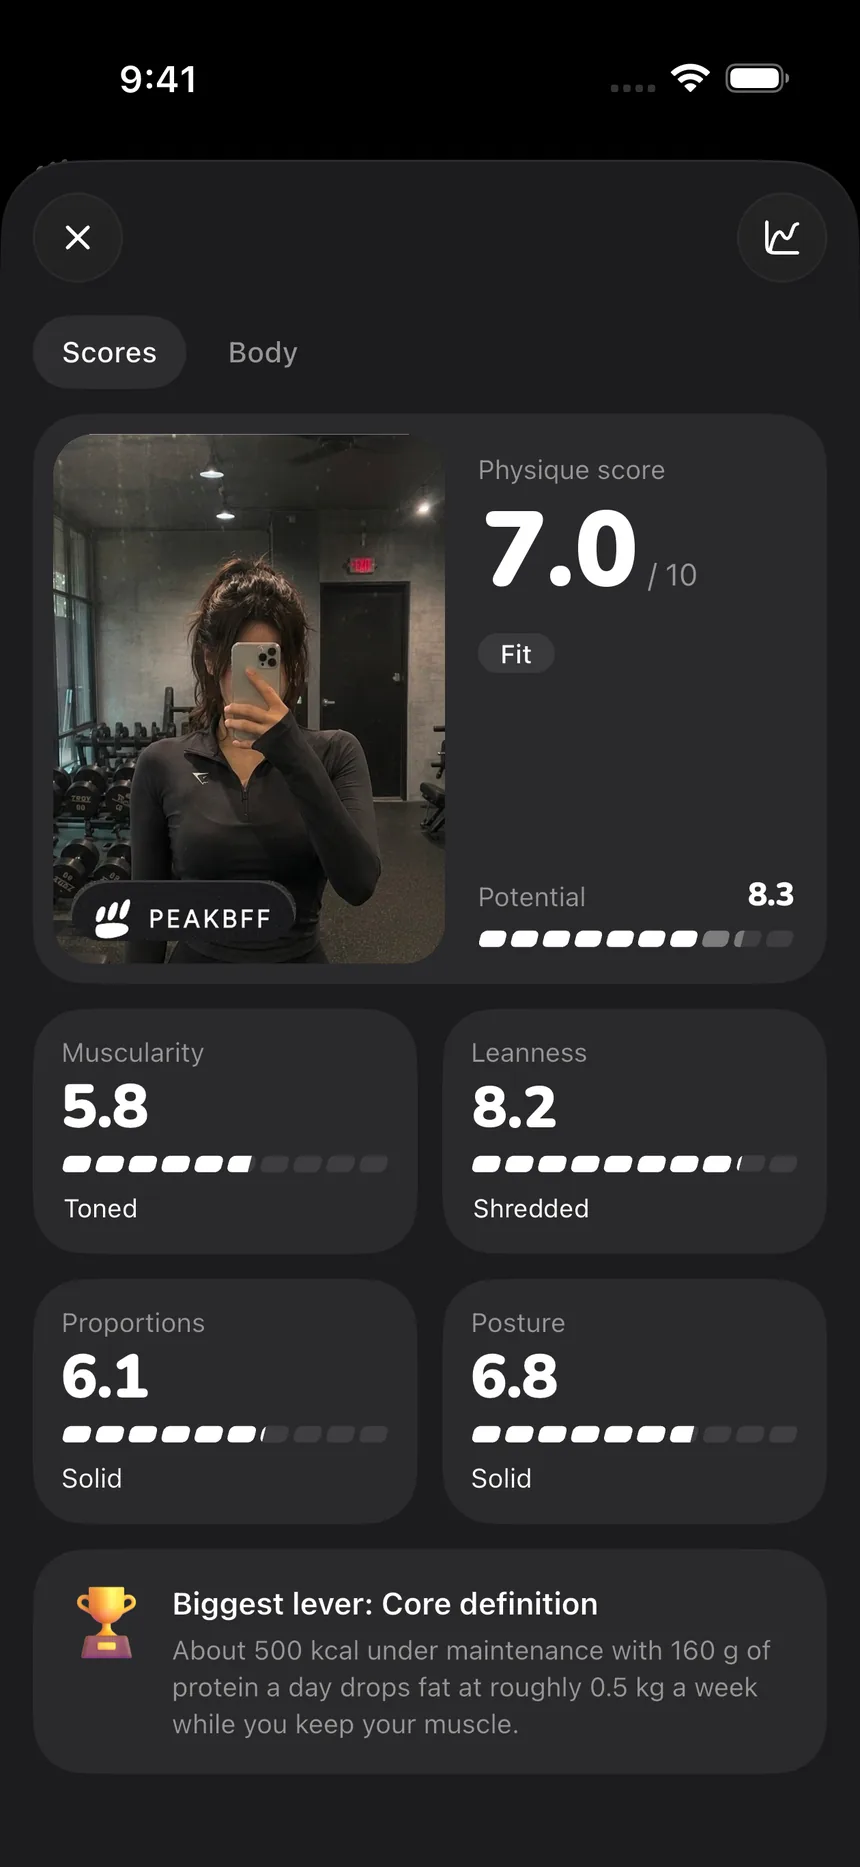
The workflow supports a clear personal record. It does not diagnose a health condition, measure body composition precisely, or replace a coach or clinician who knows your history. If you are comparing apps for the longer-term record, our complementary physique-score tracker comparison covers that decision separately.
The simple rule to keep
Use a clear full-body photo, repeat the setup when you can, add an optional second angle only if it helps your personal record, and review the result next to the training you actually logged. That is enough to make an AI physique rating a calmer, more useful check-in instead of a one-photo judgement.
Download PeakBFF on iOS or Android to keep private physique check-ins beside your workouts and progress data.
More from PeakBFF
More app comparisons, fitness guides, and product notes.
How to Calculate a Calorie Deficit: Step-by-Step Formula, Pace Chart, and Deficit Calculator
Calculate your daily calorie deficit to lose weight safely with the step-by-step formula, bodyweight pace chart, and deficit calculator without losing muscle.
JEFIT vs Fitbod (2026): Exercise Library or AI Workout Generator?
Compare JEFIT and Fitbod for gym tracking, AI workout generation, exercise libraries, and pricing, plus how PeakBFF unifies lifting and macros.
How to Track Muscle Growth: What to Measure, Realistic Rates, and Progress Log Template
Learn how to track muscle growth accurately: gym performance proxies, tape measurements, progress photos, and rolling scale weight. Includes audit template.
MacroFactor vs Cronometer (2026): Adaptive Macro Coach or Micronutrient Tracker?
MacroFactor vs Cronometer compared for lifters in 2026. Explore adaptive TDEE coaching, 80+ micronutrient tracking, food logging UX, pricing, and how PeakBFF compares.
Ladder vs Peloton (2026): Guided Strength Teams or Studio Classes?
Ladder vs Peloton compared for lifters in 2026. Explore team-based strength blocks, studio video classes, progressive overload, prices, and how PeakBFF compares.
MeThreeSixty vs ZOZOFIT (2026): Which 3D Body Scanner Fits Lifters?
Compare MeThreeSixty and ZOZOFIT for 3D body scanning, circumferences, and body fat estimates, and see which app best supports a lifting routine.